DIY Bathtub Installation Tips: A Comprehensive Guide
Installing a bathtub can be a daunting task, but with the right knowledge and preparation, it can also be a rewarding DIY project. Whether you’re renovating your bathroom or simply replacing an old bathtub, this article will provide you with valuable tips and insights to ensure a successful installation. From choosing the right bathtub to the final touches, we’ll cover everything you need to know to complete your DIY bathtub installation project with confidence.
Table of Contents
- Choosing the Right Bathtub
- Preparing the Bathroom
- Removing the Old Bathtub
- Installing the New Bathtub
- Connecting Plumbing Fixtures
- Sealing and Finishing
- Frequently Asked Questions about DIY Bathtub Installation Tips
Choosing the Right Bathtub
The first step in any bathtub installation project is choosing the right bathtub for your needs and space. Here are some important factors to consider:
1. Size and Shape
Measure your bathroom space accurately to determine the maximum dimensions your bathtub can have. Consider the shape of the bathtub as well, whether it’s a standard rectangular shape or a more unique design.
2. Material
Bathtubs come in various materials, including acrylic, fiberglass, cast iron, and porcelain-enameled steel. Each material has its own pros and cons in terms of durability, maintenance, and cost. Research the different materials to find the one that suits your preferences and budget.
3. Style and Design
Consider the overall style and design of your bathroom when choosing a bathtub. Whether you prefer a modern, minimalist look or a classic, vintage style, there are countless options available to match your aesthetic preferences.
Preparing the Bathroom
Before you begin the installation process, it’s crucial to prepare your bathroom properly. Follow these steps to ensure a smooth installation:
1. Clear the Area
Remove any obstacles or furniture from the bathroom to create a clear workspace. This will make it easier to maneuver the bathtub during installation.
2. Turn Off the Water Supply
Locate the main water shut-off valve and turn off the water supply to the bathroom. This will prevent any accidental leaks or water damage during the installation process.
3. Remove Existing Fixtures
If you’re replacing an old bathtub, remove any existing fixtures such as faucets, showerheads, and drain covers. Use the appropriate tools and follow the manufacturer’s instructions to avoid damaging the fixtures or surrounding surfaces.
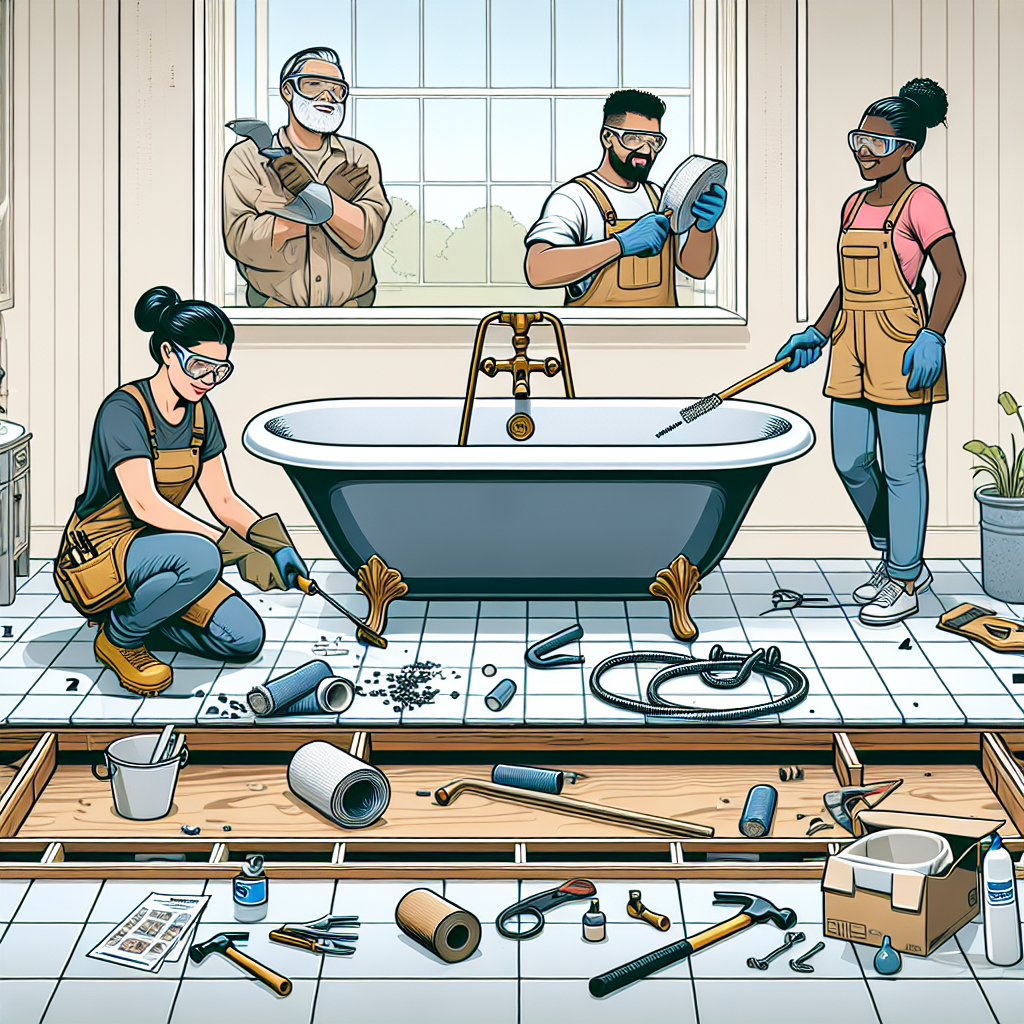
Removing the Old Bathtub
Removing the old bathtub is often the most challenging part of the installation process. Follow these steps to safely remove the old bathtub:
1. Disconnect Plumbing
Turn off the water supply to the bathroom and disconnect the plumbing fixtures connected to the bathtub. This includes the faucets, showerhead, and drain pipe. Use a wrench or pliers to loosen and remove any connections.
2. Remove Surrounding Tiles or Panels
If your bathtub is surrounded by tiles or panels, carefully remove them to expose the bathtub’s edges. Use a putty knife or scraper to loosen any adhesive or caulk holding the tiles or panels in place.
3. Loosen and Remove the Bathtub
Depending on the type of bathtub, it may be secured to the floor or wall with screws or brackets. Use a screwdriver or wrench to loosen and remove these fasteners. Enlist the help of a friend or family member to lift and remove the bathtub from its position.
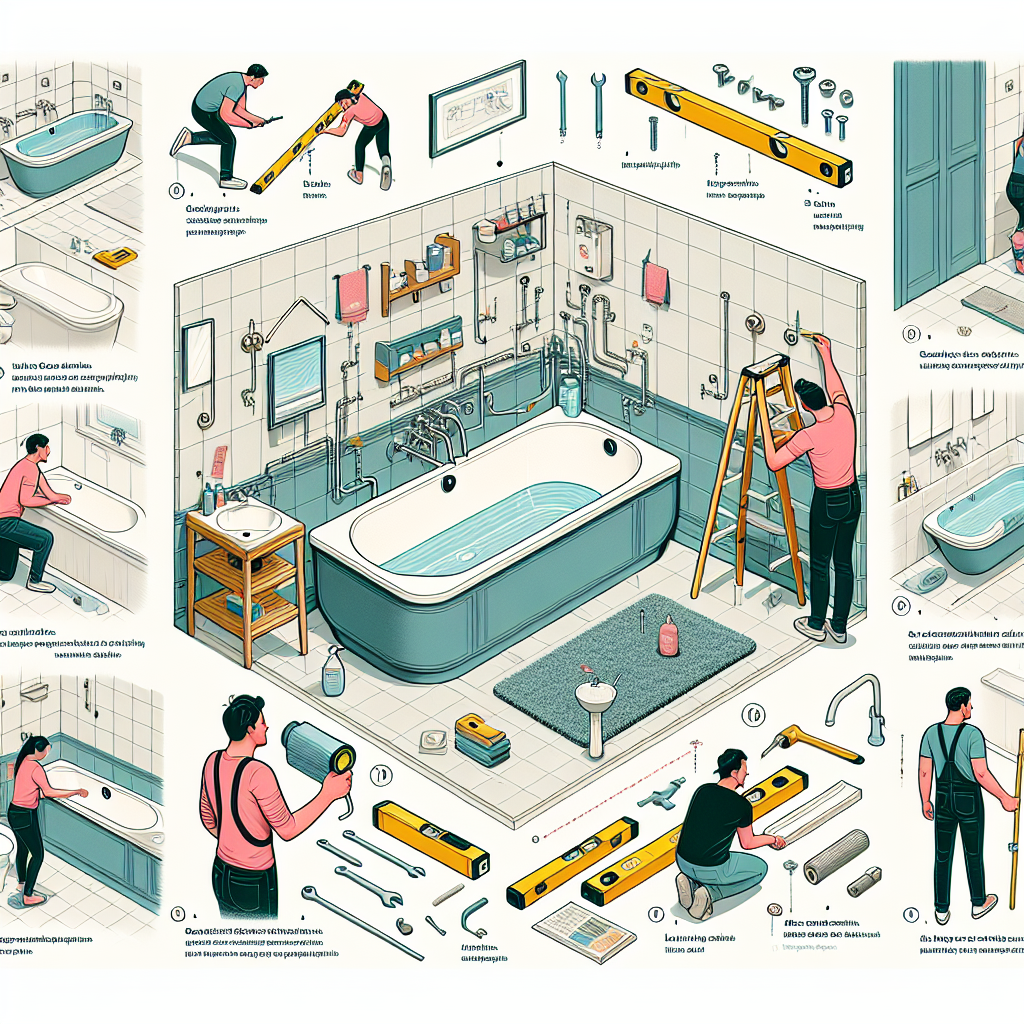
Installing the New Bathtub
Now that you’ve removed the old bathtub, it’s time to install the new one. Follow these steps for a successful installation:
1. Test Fit the New Bathtub
Place the new bathtub in its intended position to ensure it fits properly. Make any necessary adjustments to the surrounding area, such as removing excess flooring or adjusting the plumbing connections.
2. Secure the Bathtub
Once you’re satisfied with the fit, secure the bathtub in place. Follow the manufacturer’s instructions for securing the bathtub to the floor or wall. This may involve using brackets, screws, or adhesive.
3. Connect Plumbing Fixtures
Reconnect the plumbing fixtures to the new bathtub. This includes attaching the faucets, showerhead, and drain pipe. Use plumber’s tape or sealant to ensure a watertight connection.
Connecting Plumbing Fixtures
Properly connecting the plumbing fixtures is crucial for the functionality and longevity of your bathtub. Follow these tips to ensure a successful connection:
1. Use High-Quality Plumbing Materials
Invest in high-quality plumbing materials, such as stainless steel or brass fittings, to ensure durability and prevent leaks. Cheap or low-quality materials may deteriorate over time and cause plumbing issues.
2. Follow Manufacturer’s Instructions
Always refer to the manufacturer’s instructions when connecting plumbing fixtures. Each bathtub and fixture may have specific requirements and recommendations for installation. Following these instructions will ensure a proper and secure connection.
3. Test for Leaks
After connecting the plumbing fixtures, turn on the water supply and check for any leaks. Inspect all connections and joints for signs of water leakage. If you notice any leaks, tighten the connections or replace any faulty parts.
Sealing and Finishing
The final step in your DIY bathtub installation project is sealing and finishing the surrounding area. Follow these steps for a professional-looking finish:
1. Apply Caulk
Use a high-quality silicone caulk to seal the edges of the bathtub. Apply a thin and even bead of caulk along the joint between the bathtub and the surrounding tiles or panels. Smooth the caulk with a caulk smoothing tool or your finger for a neat finish.
2. Install Trim or Molding
If desired, install trim or molding around the edges of the bathtub to enhance the aesthetic appeal. Choose a trim or molding that complements the style and design of your bathroom.
3. Clean and Inspect
Thoroughly clean the bathtub and surrounding area to remove any dust or debris. Inspect the entire installation for any imperfections or areas that require touch-ups. Make any necessary adjustments or repairs before using the bathtub.
Frequently Asked Questions about DIY Bathtub Installation Tips
1. Can I install a bathtub myself?
Yes, installing a bathtub can be a DIY project if you have the necessary skills and knowledge. However, it’s important to assess your own abilities and consider hiring a professional if you’re unsure or uncomfortable with the process.
2. How long does it take to install a bathtub?
The time it takes to install a bathtub can vary depending on various factors, such as the complexity of the installation, your experience level, and any unforeseen challenges. On average, a bathtub installation can take anywhere from a few hours to a full day.
3. Do I need any special tools for bathtub installation?
While basic tools such as a wrench, screwdriver, and pliers are necessary for bathtub installation, you may also need specialized tools such as a putty knife, caulk gun, and pipe wrench. Refer to the manufacturer’s instructions and consult with a professional if you’re unsure about the required tools.
4. How much does it cost to install a bathtub?
The cost of installing a bathtub can vary depending on factors such as the type of bathtub, the complexity of the installation, and your location. On average, the cost can range from $500 to $3,000, including the cost of the bathtub, materials, and labor if you choose to hire a professional.
5. Are there any safety precautions I should take during bathtub installation?
Yes, safety should always be a priority during any DIY project. Some important safety precautions to take during bathtub installation include wearing protective gloves and eyewear, using proper lifting techniques when handling heavy objects, and turning off the electricity and water supply before starting the installation.
Summary
Installing a bathtub yourself can be a rewarding and cost-effective project. By following the tips and steps outlined in this article, you can successfully install a bathtub and transform your bathroom. Remember to choose the right bathtub for your needs, prepare the bathroom properly, remove the old bathtub carefully, install the new bathtub securely, connect the plumbing fixtures correctly, and seal and finish the installation professionally. With proper planning and execution, your DIY bathtub installation project will result in a beautiful and functional addition to your bathroom.
For professional assistance with your bathtub installation or any other home renovation projects, North Bay Contractors are here to help.