DIY Plumbing Fixture Installation Tips
Installing plumbing fixtures can be a daunting task for many homeowners. However, with the right knowledge and tools, it is possible to successfully complete these projects on your own. In this article, we will provide you with valuable tips and insights to help you navigate the world of DIY plumbing fixture installation. From choosing the right fixtures to ensuring proper installation, we’ve got you covered.
Choosing the Right Plumbing Fixtures
Before diving into the installation process, it is crucial to choose the right plumbing fixtures for your needs. Here are some tips to help you make the right decision:
- Consider the style and design: Plumbing fixtures come in a variety of styles and designs. It is important to choose fixtures that complement the overall aesthetic of your space. Whether you prefer a modern or traditional look, there are plenty of options available.
- Check for quality: Quality is key when it comes to plumbing fixtures. Look for fixtures that are made from durable materials such as brass or stainless steel. These materials are not only long-lasting but also resistant to corrosion.
- Consider water efficiency: With increasing concerns about water conservation, it is important to choose fixtures that are water-efficient. Look for fixtures that are labeled with the WaterSense logo, as they meet the Environmental Protection Agency’s criteria for water efficiency.
- Take measurements: Before purchasing any fixtures, it is essential to take accurate measurements of the space where they will be installed. This will ensure that the fixtures fit properly and function as intended.
Gathering the Necessary Tools
Once you have chosen the right plumbing fixtures, it is time to gather the necessary tools for the installation process. Here are some essential tools you will need:
- Adjustable wrench: An adjustable wrench is a versatile tool that will come in handy for various plumbing tasks, including tightening and loosening nuts and bolts.
- Pipe cutter: If you need to cut pipes during the installation process, a pipe cutter is a must-have tool. It allows for clean and precise cuts.
- Teflon tape: Teflon tape is used to create a watertight seal on threaded connections. It is essential for preventing leaks.
- Plumber’s putty: Plumber’s putty is a soft, pliable substance that is used to create a watertight seal around drains and faucets.
- Hacksaw: A hacksaw is useful for cutting through metal pipes and other materials.
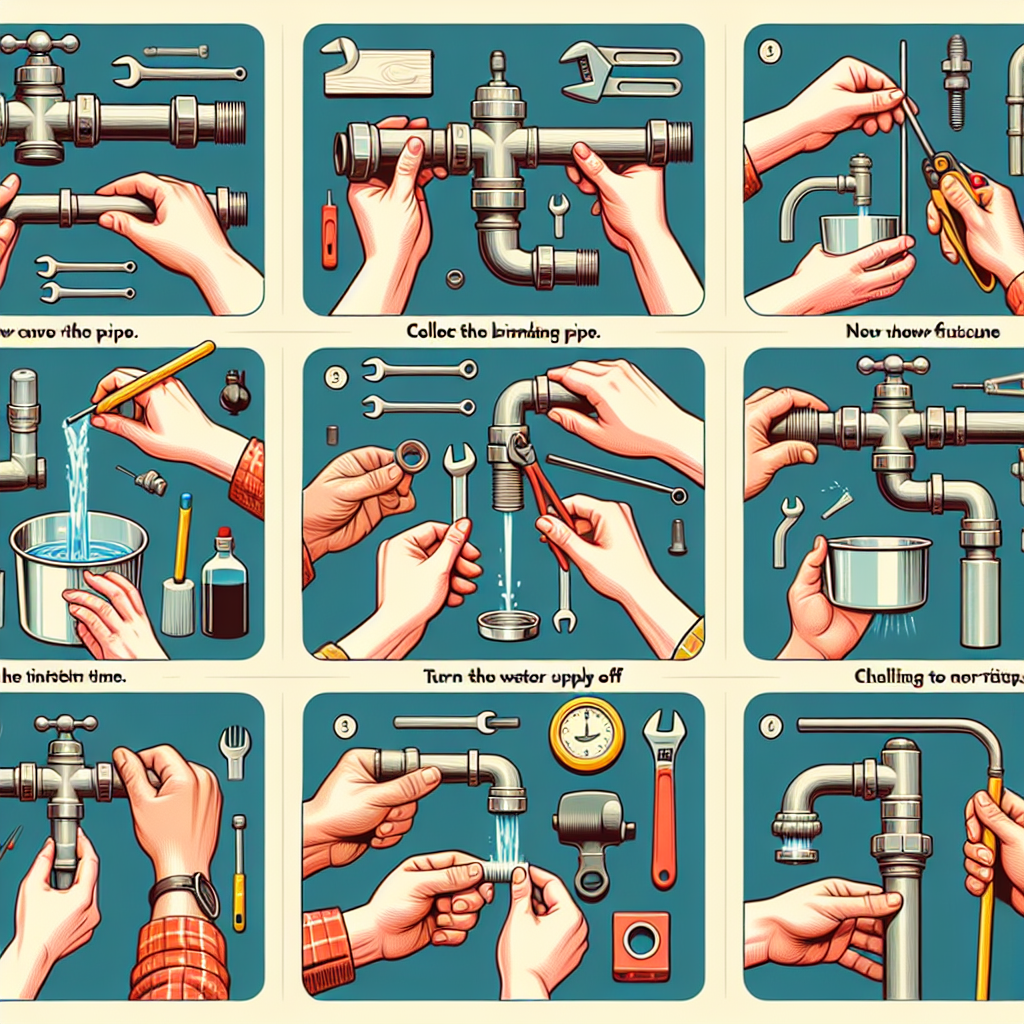
Preparing for the Installation
Before starting the installation process, it is important to prepare the area and gather all the necessary materials. Here are some steps to follow:
- Turn off the water supply: Before working on any plumbing fixtures, it is crucial to turn off the water supply to avoid any accidents or water damage.
- Read the instructions: Carefully read the installation instructions provided by the manufacturer. This will ensure that you understand the process and any specific requirements.
- Gather all the necessary materials: Make sure you have all the materials and tools required for the installation. This will save you time and prevent any interruptions during the process.
- Prepare the work area: Clear the area where the installation will take place. Remove any obstacles and ensure there is enough space to work comfortably.
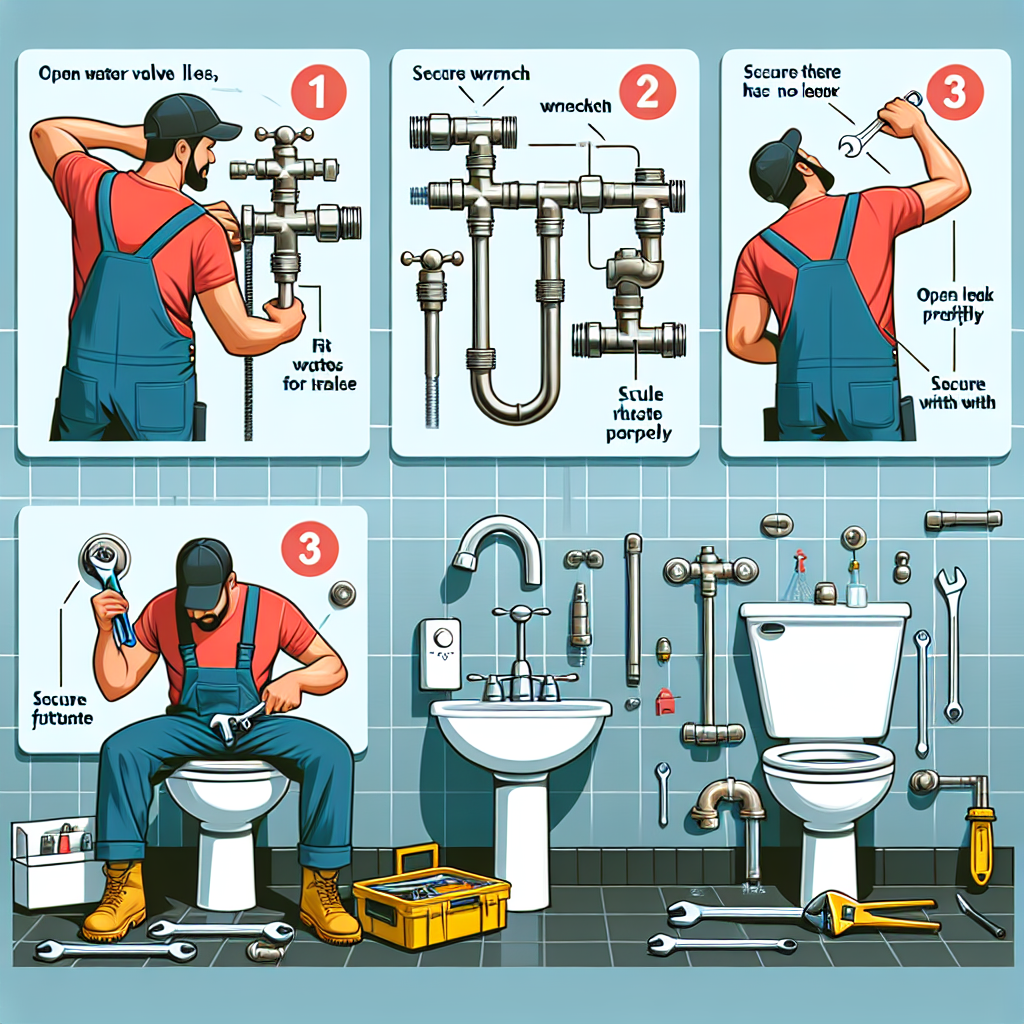
The Installation Process
Now that you have prepared for the installation, it is time to start the process. Here are some general steps to follow:
- Remove the old fixture: If you are replacing an existing fixture, start by removing it. Follow the manufacturer’s instructions for proper removal.
- Prepare the new fixture: Before installing the new fixture, make sure to clean it and remove any protective coverings.
- Apply sealants: Depending on the type of fixture, you may need to apply sealants such as plumber’s putty or Teflon tape to create a watertight seal.
- Connect the fixture: Carefully connect the fixture to the existing plumbing. Use the appropriate tools to tighten the connections, but be careful not to overtighten.
- Test for leaks: Once the fixture is installed, turn on the water supply and check for any leaks. If you notice any leaks, tighten the connections or apply additional sealant as needed.
Frequently Asked Questions about “DIY Plumbing Fixture Installation Tips”
1. Can I install plumbing fixtures on my own?
Yes, you can install plumbing fixtures on your own if you have the necessary knowledge and tools. However, it is important to note that some installations may require professional assistance, especially if they involve complex plumbing systems or require permits.
2. How do I know if I need to replace my plumbing fixtures?
There are several signs that indicate it may be time to replace your plumbing fixtures. These include frequent leaks, low water pressure, outdated design, and visible signs of wear and tear. If you are unsure, it is best to consult a professional plumber for an assessment.
3. What should I do if I encounter a problem during the installation process?
If you encounter a problem during the installation process, it is important to remain calm and assess the situation. Check the manufacturer’s instructions for troubleshooting tips or consult online resources for guidance. If the problem persists, it may be best to seek professional help.
4. How can I ensure a watertight seal during the installation?
To ensure a watertight seal during the installation, it is important to use the appropriate sealants such as plumber’s putty or Teflon tape. Follow the manufacturer’s instructions for applying the sealants and make sure to tighten the connections properly.
5. Are there any safety precautions I should take during the installation process?
Yes, there are several safety precautions you should take during the installation process. These include turning off the water supply before starting, wearing protective gloves and eyewear, and using caution when working with tools. If you are unsure about any aspect of the installation, it is best to consult a professional plumber.
Summary
Installing plumbing fixtures can be a rewarding DIY project if approached with the right knowledge and tools. By choosing the right fixtures, gathering the necessary tools, and following the proper installation process, you can successfully complete these projects on your own. Remember to take measurements, read the instructions, and test for leaks to ensure a successful installation. If you encounter any difficulties or are unsure about any aspect of the process, it is always best to consult a professional plumber for assistance. Happy DIY plumbing fixture installation!