DIY Toilet Upgrade Tips
Upgrading your toilet can be a great way to improve the functionality and aesthetics of your bathroom. Whether you’re looking to save water, enhance comfort, or simply give your bathroom a fresh look, there are several DIY toilet upgrade tips that can help you achieve your goals. In this article, we will explore some valuable insights and tips to guide you through the process of upgrading your toilet.
Frequently Asked Questions about “DIY Toilet Upgrade Tips”
1. What are the benefits of upgrading my toilet?
Upgrading your toilet can bring several benefits to your bathroom and household. Some of the key advantages include:
- Improved water efficiency: Newer toilets are designed to use less water per flush, helping you save on your water bills and contribute to water conservation efforts.
- Enhanced comfort: Modern toilets often come with features like soft-close lids, heated seats, and adjustable water pressure, providing a more comfortable experience.
- Reduced maintenance: Upgrading to a newer toilet can reduce the frequency of clogs and leaks, saving you time and money on repairs.
- Updated aesthetics: A new toilet can give your bathroom a fresh and updated look, enhancing the overall appeal and value of your home.
2. How do I choose the right toilet for my bathroom?
When selecting a new toilet for your bathroom, there are several factors to consider:
- Size and shape: Measure the available space in your bathroom to ensure the toilet you choose fits properly. Consider the shape of the toilet bowl as well, as it can affect comfort.
- Flush type: There are different flush types available, such as gravity-fed, pressure-assisted, and dual-flush. Research each type to determine which one suits your needs and preferences.
- Water efficiency: Look for toilets with the WaterSense label, as they meet the EPA’s criteria for water efficiency. These toilets use less water per flush without compromising performance.
- Comfort features: Consider additional features like soft-close lids, bidet attachments, or heated seats, depending on your preferences and budget.
- Budget: Set a budget for your toilet upgrade and explore options within that range. Remember to consider long-term savings on water bills and maintenance costs.
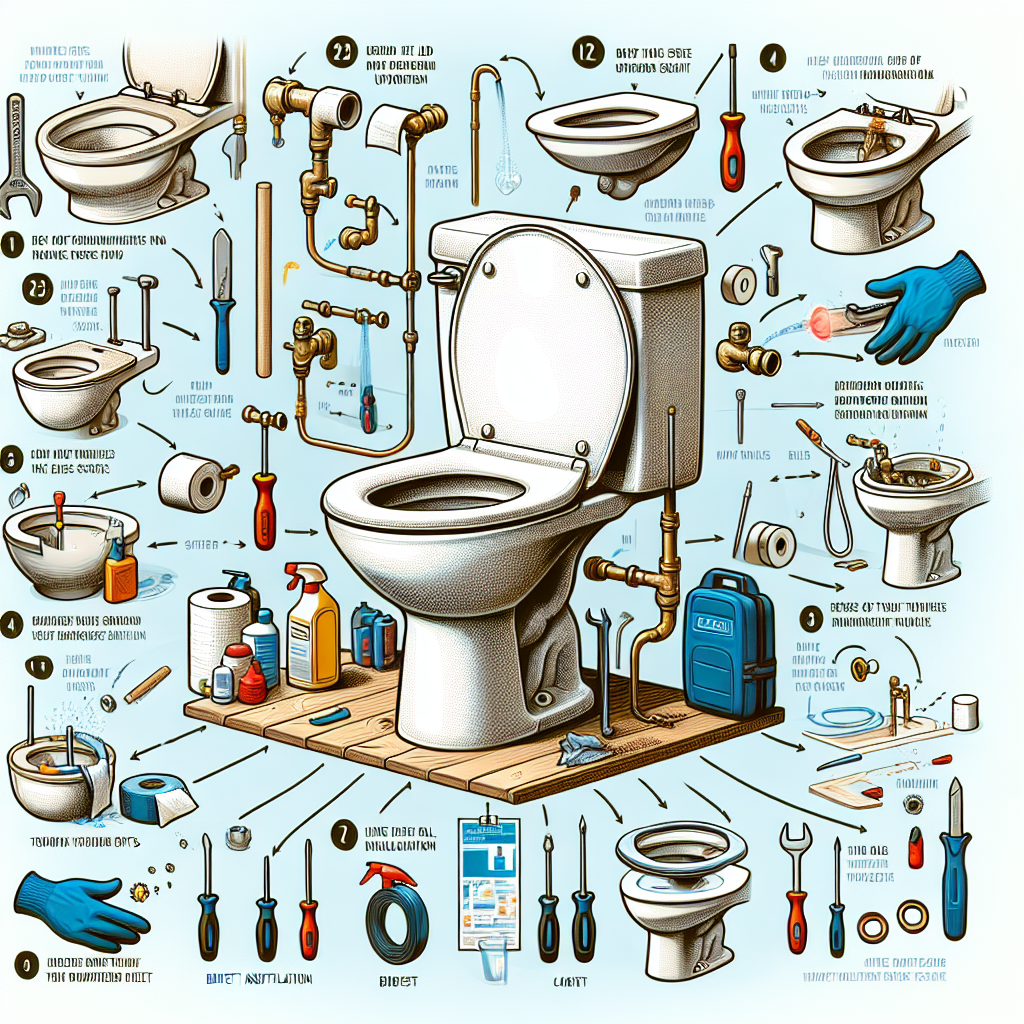
3. What tools and materials do I need for a DIY toilet upgrade?
Before starting your DIY toilet upgrade, gather the following tools and materials:
- Adjustable wrench
- Screwdriver
- Plunger
- Putty knife
- New wax ring
- New toilet seat (if desired)
- Caulk and caulk gun
- Teflon tape
- Bucket and rags for cleanup
4. How do I install a new toilet?
Installing a new toilet can be a straightforward process if you follow these steps:
- Turn off the water supply to the toilet by closing the shut-off valve.
- Flush the toilet to drain the water from the tank and bowl.
- Disconnect the water supply line from the bottom of the tank.
- Remove the nuts securing the toilet to the floor and lift the toilet off the flange.
- Scrape off the old wax ring from the flange and inspect it for damage.
- Place a new wax ring on the flange, ensuring it is centered.
- Lower the new toilet onto the wax ring, aligning the bolts with the holes in the base.
- Tighten the nuts onto the bolts, ensuring the toilet is level and secure.
- Reconnect the water supply line and turn on the water.
- Test the toilet for any leaks and make adjustments if necessary.
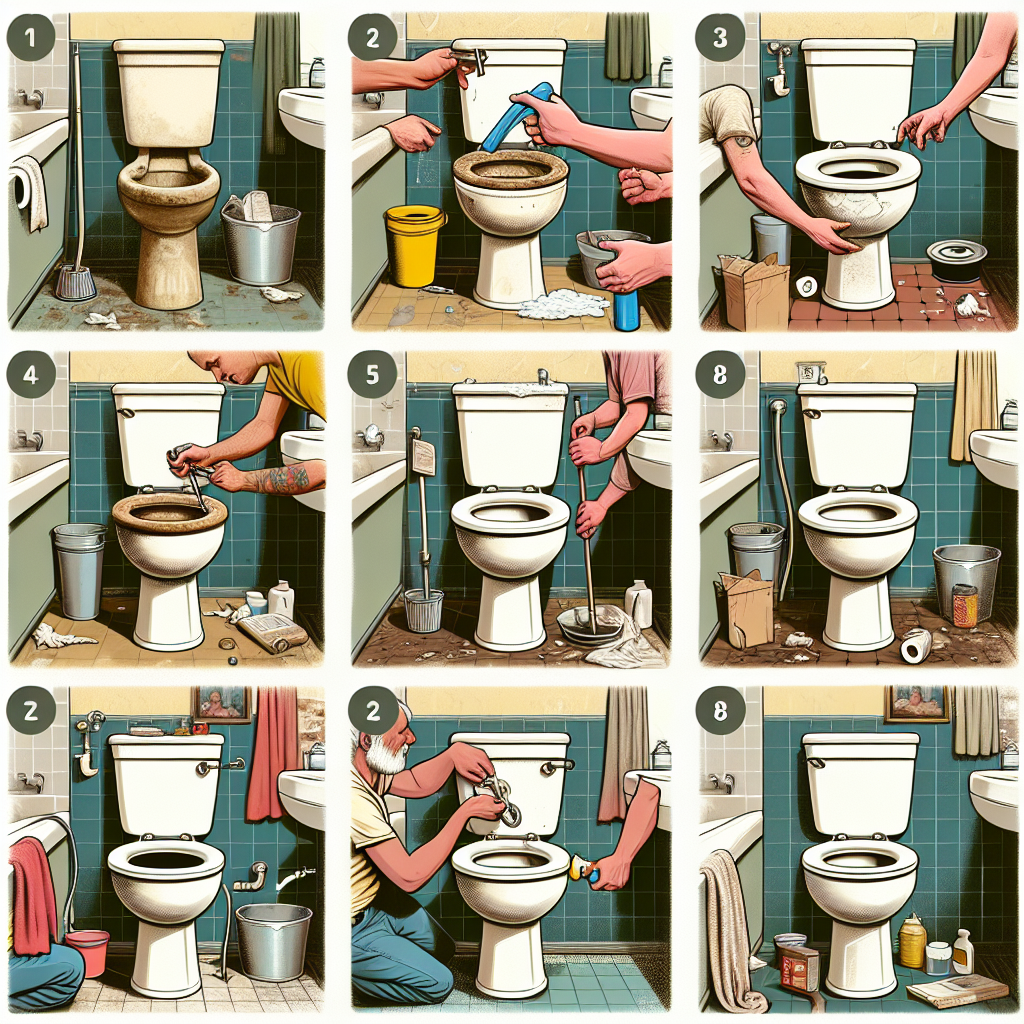
5. Are there any safety precautions I should take during a DIY toilet upgrade?
While a DIY toilet upgrade is generally safe, it’s important to take some precautions:
- Turn off the water supply and wear gloves to protect yourself from any potential leaks or spills.
- Use caution when lifting and maneuvering the toilet to avoid strain or injury.
- Follow the manufacturer’s instructions and guidelines for installation to ensure proper assembly and avoid any accidents.
- If you’re unsure about any step of the process, consult a professional plumber to avoid any potential damage or mistakes.
By following these DIY toilet upgrade tips, you can transform your bathroom into a more efficient and comfortable space. Remember to always prioritize safety and consult professionals when needed. Enjoy the process of upgrading your toilet and reap the benefits it brings to your home!