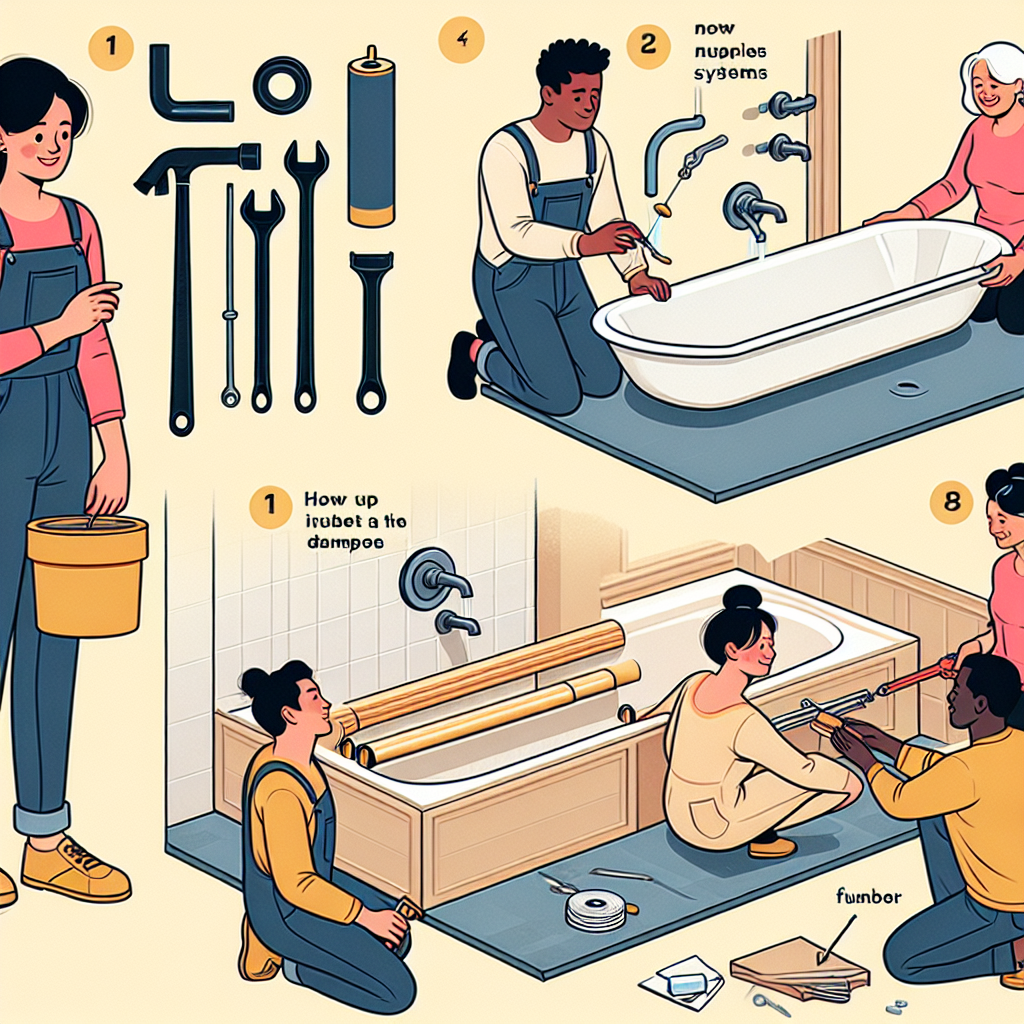
Steps for a Successful Bathtub Installation
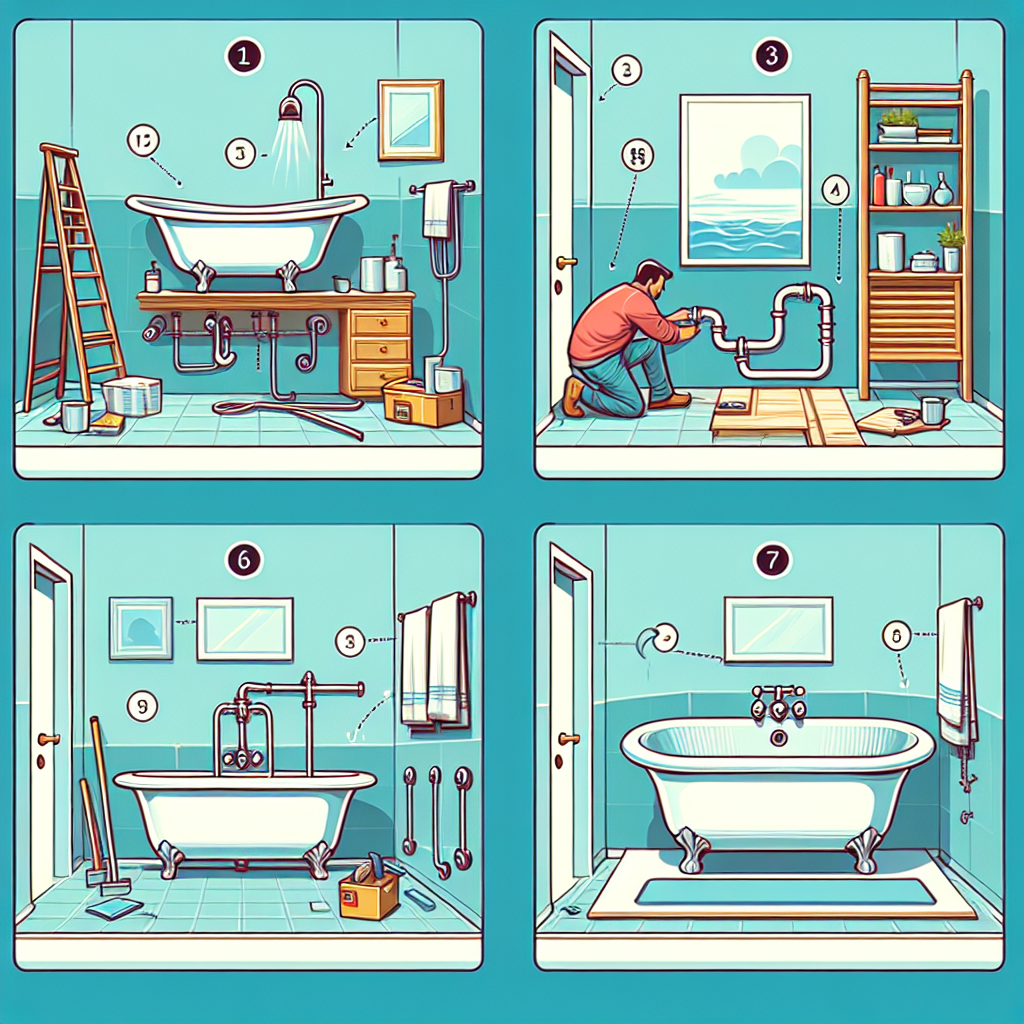
Installing a bathtub can be a complex process that requires careful planning and execution. Whether you are replacing an old bathtub or installing a new one, following the right steps is crucial to ensure a successful installation. In this article, we will guide you through the key steps involved in a bathtub installation, providing valuable insights and tips along the way.
1. Planning and Preparation
Before you begin the installation process, it is essential to plan and prepare adequately. This step involves assessing the space available in your bathroom, choosing the right type of bathtub, and gathering the necessary tools and materials.
What factors should I consider when choosing a bathtub?
When selecting a bathtub, several factors should be taken into consideration:
- Size: Measure the available space in your bathroom to determine the appropriate size of the bathtub.
- Material: Bathtubs are available in various materials, such as acrylic, fiberglass, cast iron, and porcelain. Consider the durability, maintenance requirements, and aesthetic appeal of each material.
- Style: Choose a bathtub style that complements the overall design of your bathroom. Options include freestanding, alcove, corner, and drop-in bathtubs.
- Features: Consider additional features like whirlpool jets, built-in armrests, or a slip-resistant surface, depending on your preferences and needs.
What tools and materials do I need for a bathtub installation?
Here are some essential tools and materials you will need:
- Tape measure: To accurately measure the dimensions of your bathroom and the bathtub.
- Level: To ensure the bathtub is installed evenly.
- Drill: For making holes and attaching fixtures.
- Screwdriver: To tighten screws and bolts.
- Plumber’s putty: To create a watertight seal around the drain and fixtures.
- Pipe wrench: For tightening and loosening plumbing connections.
- Plumbing tape: To seal pipe threads and prevent leaks.
- Adhesive: Depending on the type of bathtub, you may need adhesive for securing it in place.
2. Removing the Old Bathtub
If you are replacing an existing bathtub, the next step is to remove the old one. This process requires caution and attention to detail to avoid damaging the surrounding walls or plumbing.
How do I remove an old bathtub?
Follow these steps to remove an old bathtub:
- Turn off the water supply to the bathroom.
- Remove any fixtures or accessories attached to the bathtub, such as faucets, handles, and drain covers.
- Disconnect the plumbing connections, including the drain and water supply lines.
- Remove any screws or nails securing the bathtub to the walls or floor.
- Carefully lift and remove the old bathtub, ensuring not to damage the surrounding area.
3. Preparing the Installation Area
Once the old bathtub is removed, it is crucial to prepare the installation area properly. This step involves cleaning the space, making necessary repairs, and ensuring the floor is level.
How do I prepare the installation area for a new bathtub?
Follow these steps to prepare the installation area:
- Clean the area thoroughly, removing any debris or residue left from the old bathtub.
- Inspect the plumbing connections and make any necessary repairs or replacements.
- Check the floor for levelness. If the floor is uneven, use a leveling compound to create a flat surface.
- Apply a waterproofing membrane to the floor and walls surrounding the installation area to prevent water damage.
4. Installing the New Bathtub
Now comes the exciting part – installing the new bathtub. This step requires precision and attention to detail to ensure the bathtub is securely in place and properly connected to the plumbing.
How do I install a new bathtub?
Follow these steps to install a new bathtub:
- Position the bathtub in the installation area, ensuring it fits properly and aligns with the plumbing connections.
- Use a level to check if the bathtub is even. Adjust as necessary by adding shims under the tub.
- Secure the bathtub to the walls and floor using screws or nails.
- Connect the drain and overflow assembly, ensuring a watertight seal using plumber’s putty or silicone caulk.
- Attach the water supply lines to the bathtub’s faucet or handles, using plumbing tape to seal the connections.
- Test the bathtub by filling it with water and checking for any leaks or issues.
5. Finishing Touches
Once the bathtub is installed and functioning correctly, it’s time to add the finishing touches to complete the installation.
What are some finishing touches for a bathtub installation?
Consider these finishing touches to enhance the appearance and functionality of your bathtub:
- Caulking: Apply silicone caulk around the edges of the bathtub to create a watertight seal and prevent water damage.
- Tile or surround: Install a tile or surround around the bathtub to protect the walls from water splashes and add a decorative touch.
- Accessories: Add accessories such as a shower curtain, towel bars, or a bath caddy to enhance the functionality and aesthetics of the bathtub.
Frequently Asked Questions about “Steps for a Successful Bathtub Installation”
1. Can I install a bathtub myself, or should I hire a professional?
While it is possible to install a bathtub yourself, hiring a professional is recommended, especially if you have limited experience with plumbing and construction. A professional contractor will ensure that the installation is done correctly, minimizing the risk of leaks or other issues.
2. How long does it take to install a bathtub?
The time required to install a bathtub can vary depending on various factors, such as the complexity of the installation, the condition of the existing plumbing, and the type of bathtub being installed. On average, a bathtub installation can take anywhere from a few hours to a full day.
3. Do I need a building permit for a bathtub installation?
In most cases, a building permit is not required for a bathtub installation. However, it is essential to check with your local building department to confirm the specific regulations and requirements in your area.
4. How much does it cost to install a bathtub?
The cost of installing a bathtub can vary depending on factors such as the type of bathtub, the complexity of the installation, and the region where you live. On average, the cost can range from $500 to $3,000, including the bathtub, materials, and labor.
5. How can I maintain my bathtub after installation?
To keep your bathtub in good condition after installation, follow these maintenance tips:
- Regularly clean the bathtub using non-abrasive cleaners to prevent the buildup of dirt and grime.
- Avoid using harsh chemicals or abrasive scrubbers that can damage the bathtub’s surface.
- Check for any signs of leaks or water damage and address them promptly to prevent further issues.
- Inspect and clean the drain regularly to prevent clogs.
Summary
Installing a bathtub requires careful planning, preparation, and execution. By following the steps outlined in this article, you can ensure a successful bathtub installation. Remember to choose the right bathtub for your needs, remove the old bathtub properly, prepare the installation area, install the new bathtub correctly, and add the finishing touches. Hiring a professional contractor is recommended for a seamless and hassle-free installation process. With proper maintenance, your newly installed bathtub will provide you with years of relaxation and enjoyment in your bathroom.