Toilet Upgrade and Installation DIY Tutorials
Are you considering upgrading or installing a new toilet in your home? While it may seem like a daunting task, with the right knowledge and guidance, you can successfully complete this project on your own. In this article, we will provide you with a comprehensive guide on toilet upgrade and installation DIY tutorials. From choosing the right toilet to step-by-step installation instructions, we’ve got you covered.
Frequently Asked Questions about “Toilet Upgrade and Installation DIY Tutorials”
1. What factors should I consider when choosing a new toilet?
When selecting a new toilet for your upgrade or installation project, there are several important factors to consider:
- Flush type: Decide between a gravity-fed or pressure-assisted flush system based on your preferences and needs.
- Bowl shape and size: Choose between round and elongated bowls, considering the available space in your bathroom.
- Height: Opt for a standard or comfort height toilet, depending on your comfort and accessibility requirements.
- Water efficiency: Look for toilets with the WaterSense label to ensure they meet the EPA’s water efficiency standards.
- Style and design: Consider the overall aesthetics of your bathroom and choose a toilet that complements the existing decor.
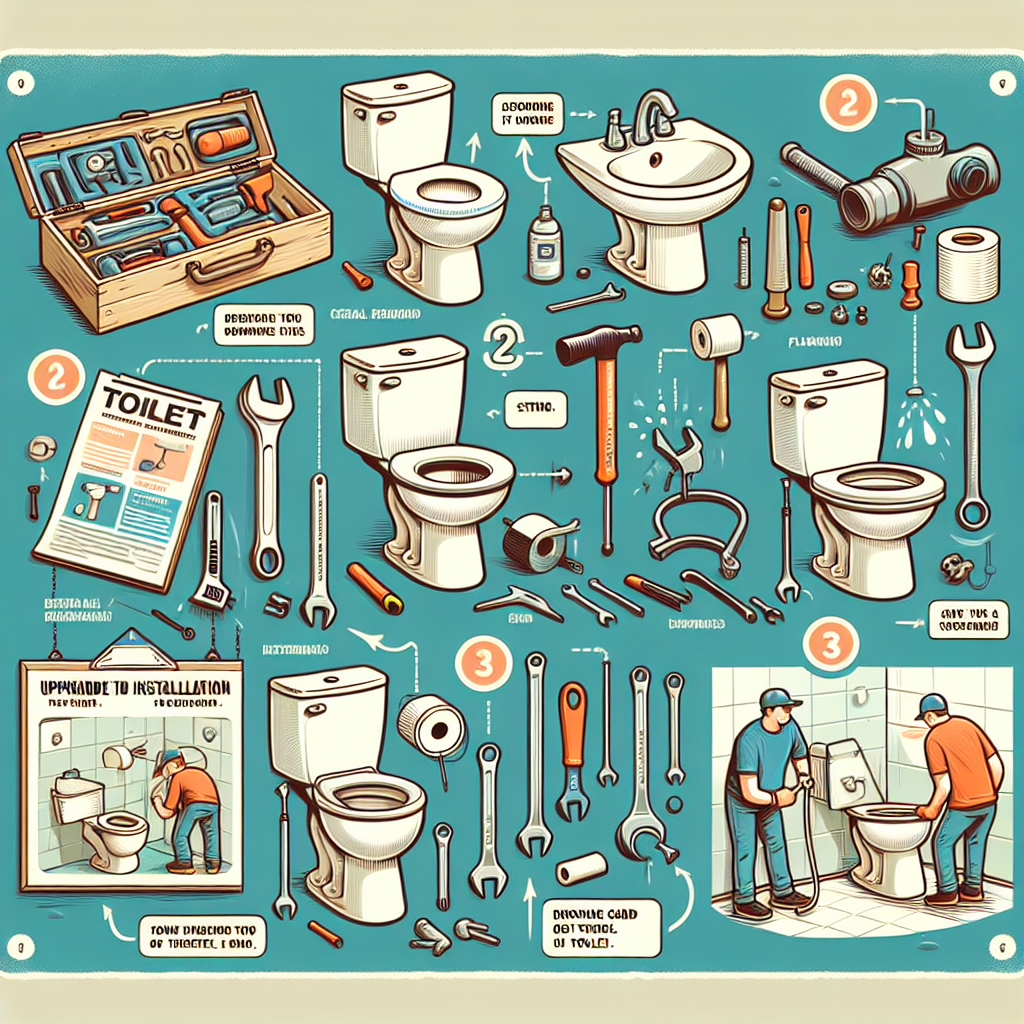
2. What tools and materials do I need for a toilet upgrade or installation?
Before starting your toilet upgrade or installation project, gather the following tools and materials:
- Adjustable wrench
- Screwdriver
- Plunger
- Hacksaw
- Wax ring
- Toilet bolts
- Flexible water supply line
- Level
- Tape measure
- Gloves and safety goggles
3. How do I remove the old toilet?
Removing the old toilet is the first step in your upgrade or installation project. Follow these steps:
- Turn off the water supply to the toilet by closing the shut-off valve.
- Flush the toilet to empty the tank and bowl.
- Disconnect the water supply line from the bottom of the tank.
- Remove the caps covering the bolts at the base of the toilet and unscrew the nuts.
- Lift the toilet bowl straight up and place it on a protective surface.
- Scrape off the old wax ring from the flange and inspect it for any damage.
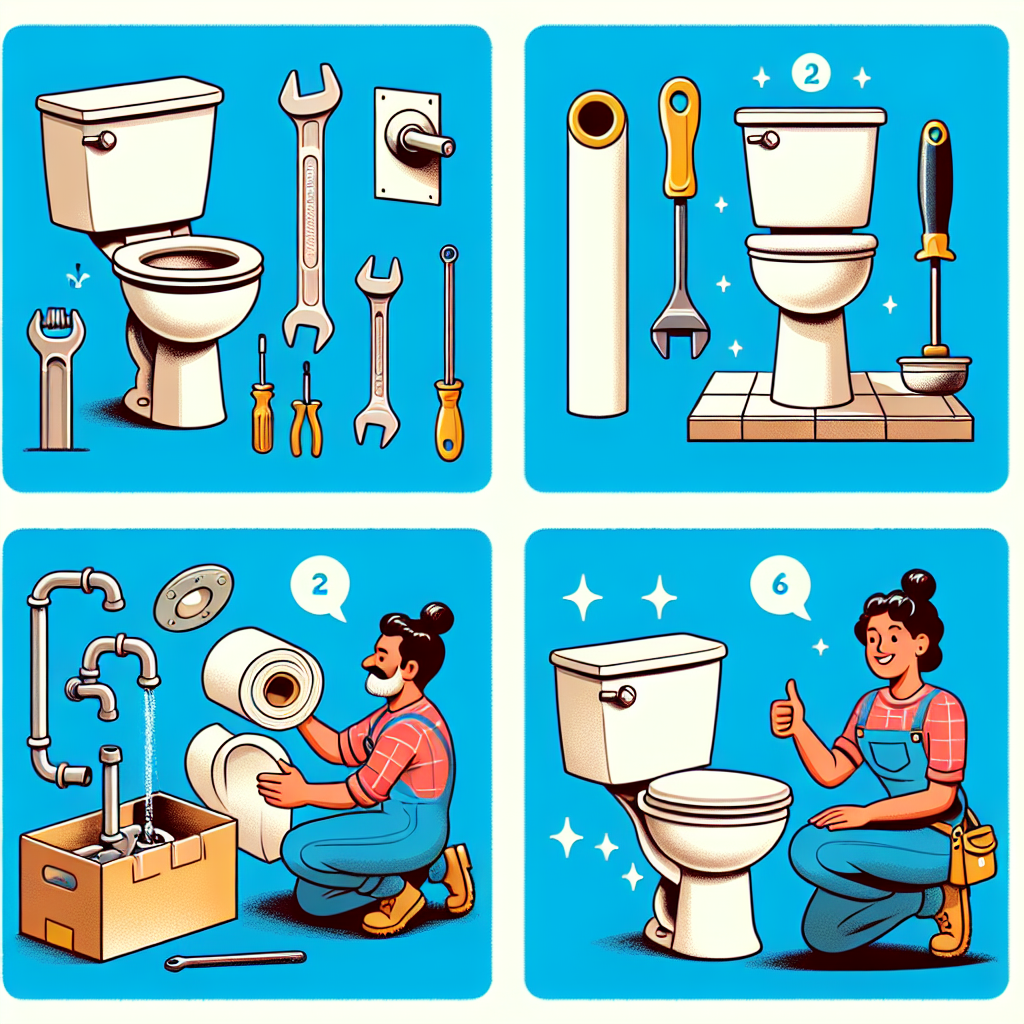
4. How do I install the new toilet?
Once you have removed the old toilet, follow these steps to install the new one:
- Place a new wax ring onto the flange, ensuring it is centered.
- Position the new toilet bowl over the flange, aligning the bolts with the holes.
- Press down firmly to create a watertight seal with the wax ring.
- Secure the toilet bowl by tightening the nuts onto the bolts.
- Attach the tank to the bowl according to the manufacturer’s instructions.
- Connect the water supply line to the bottom of the tank.
- Turn on the water supply and check for any leaks.
- Test the flush and make any necessary adjustments.
5. Are there any safety precautions I should take during the installation process?
While installing a toilet is generally a safe task, it’s important to take some precautions:
- Wear gloves and safety goggles to protect yourself from any potential hazards.
- Be cautious when handling the toilet bowl, as it can be heavy and fragile.
- Ensure the area is well-ventilated to avoid inhaling any fumes from cleaning products.
- Follow the manufacturer’s instructions and guidelines for proper installation.
By following these DIY tutorials and taking the necessary precautions, you can successfully upgrade or install a new toilet in your home. Remember, if you ever feel unsure or uncomfortable with any step of the process, it’s always best to consult a professional plumber.
For more information and assistance with your toilet upgrade and installation project, visit North Bay Contractors.